How to find and process wild clay


As soon as I learnt to use clay I started to look for it in the wild, making my hikes much slower and heavier. I now carry some plastic bags and buckets almost everywhere I go.
Where to look
After a bit of practice with foraging wild clays, you will notice they are pretty much everywhere. At the beginning though it can seem like an overwhelming mission.
You can find information about clay deposits in geological maps of your area, or even in advice for fossil hunting: they are often found together.
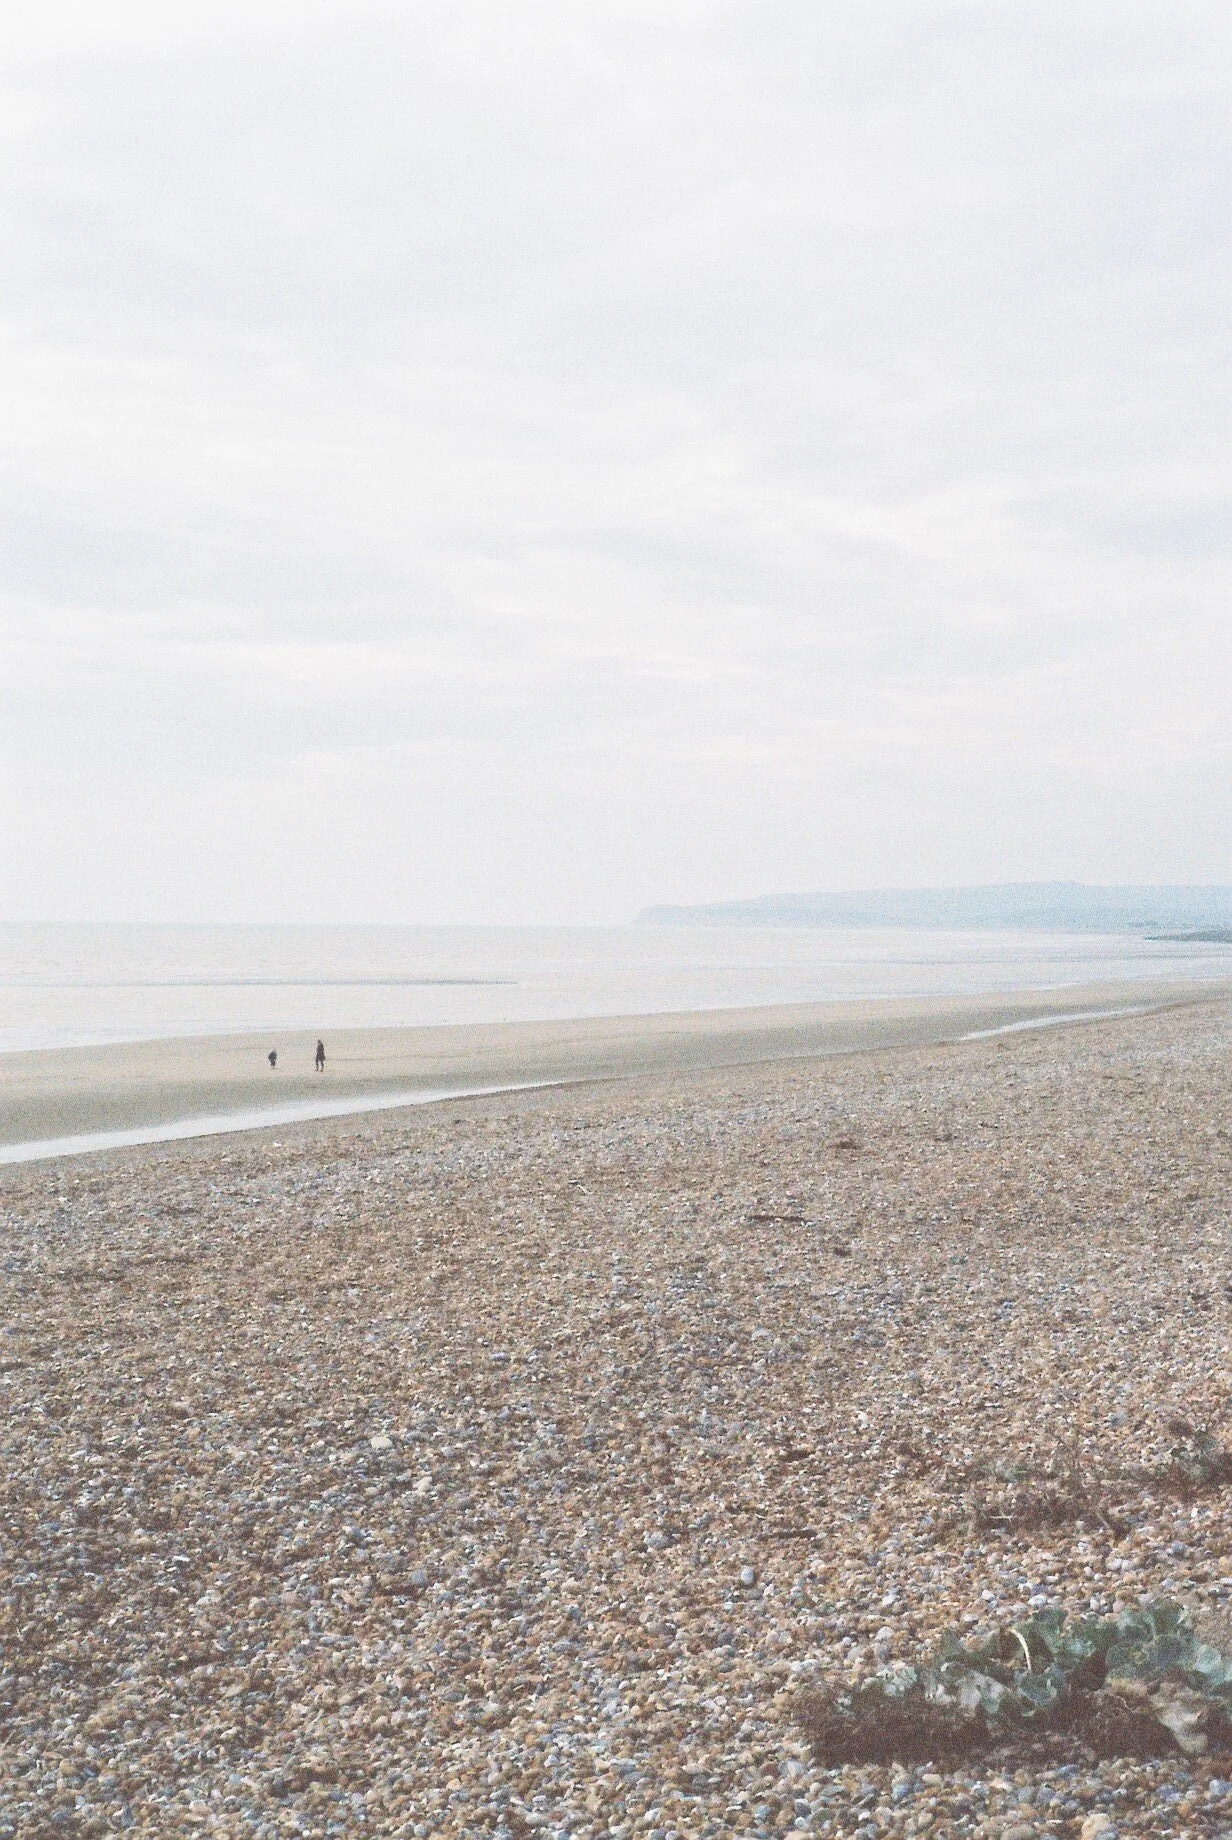
Start by looking around water bodies, lake shores, river beds, cliffs, or construction sites and areas in which previously there was a brick factory. Bricks were and are almost exclusively produced on the same site where the clay is dug.


In some instances you might be able to retrace a large amount of information about the composition and minerals present in your clay from geological research or its cultural and historical relevance from archeological texts. Some other times it’s impossible to get any sort of background on your wild clay.
In both cases test your clays and fire a few tiles in the kiln. Clay bodies collected just a few feet away and belonging to the same vein or deposit can behave very differently.
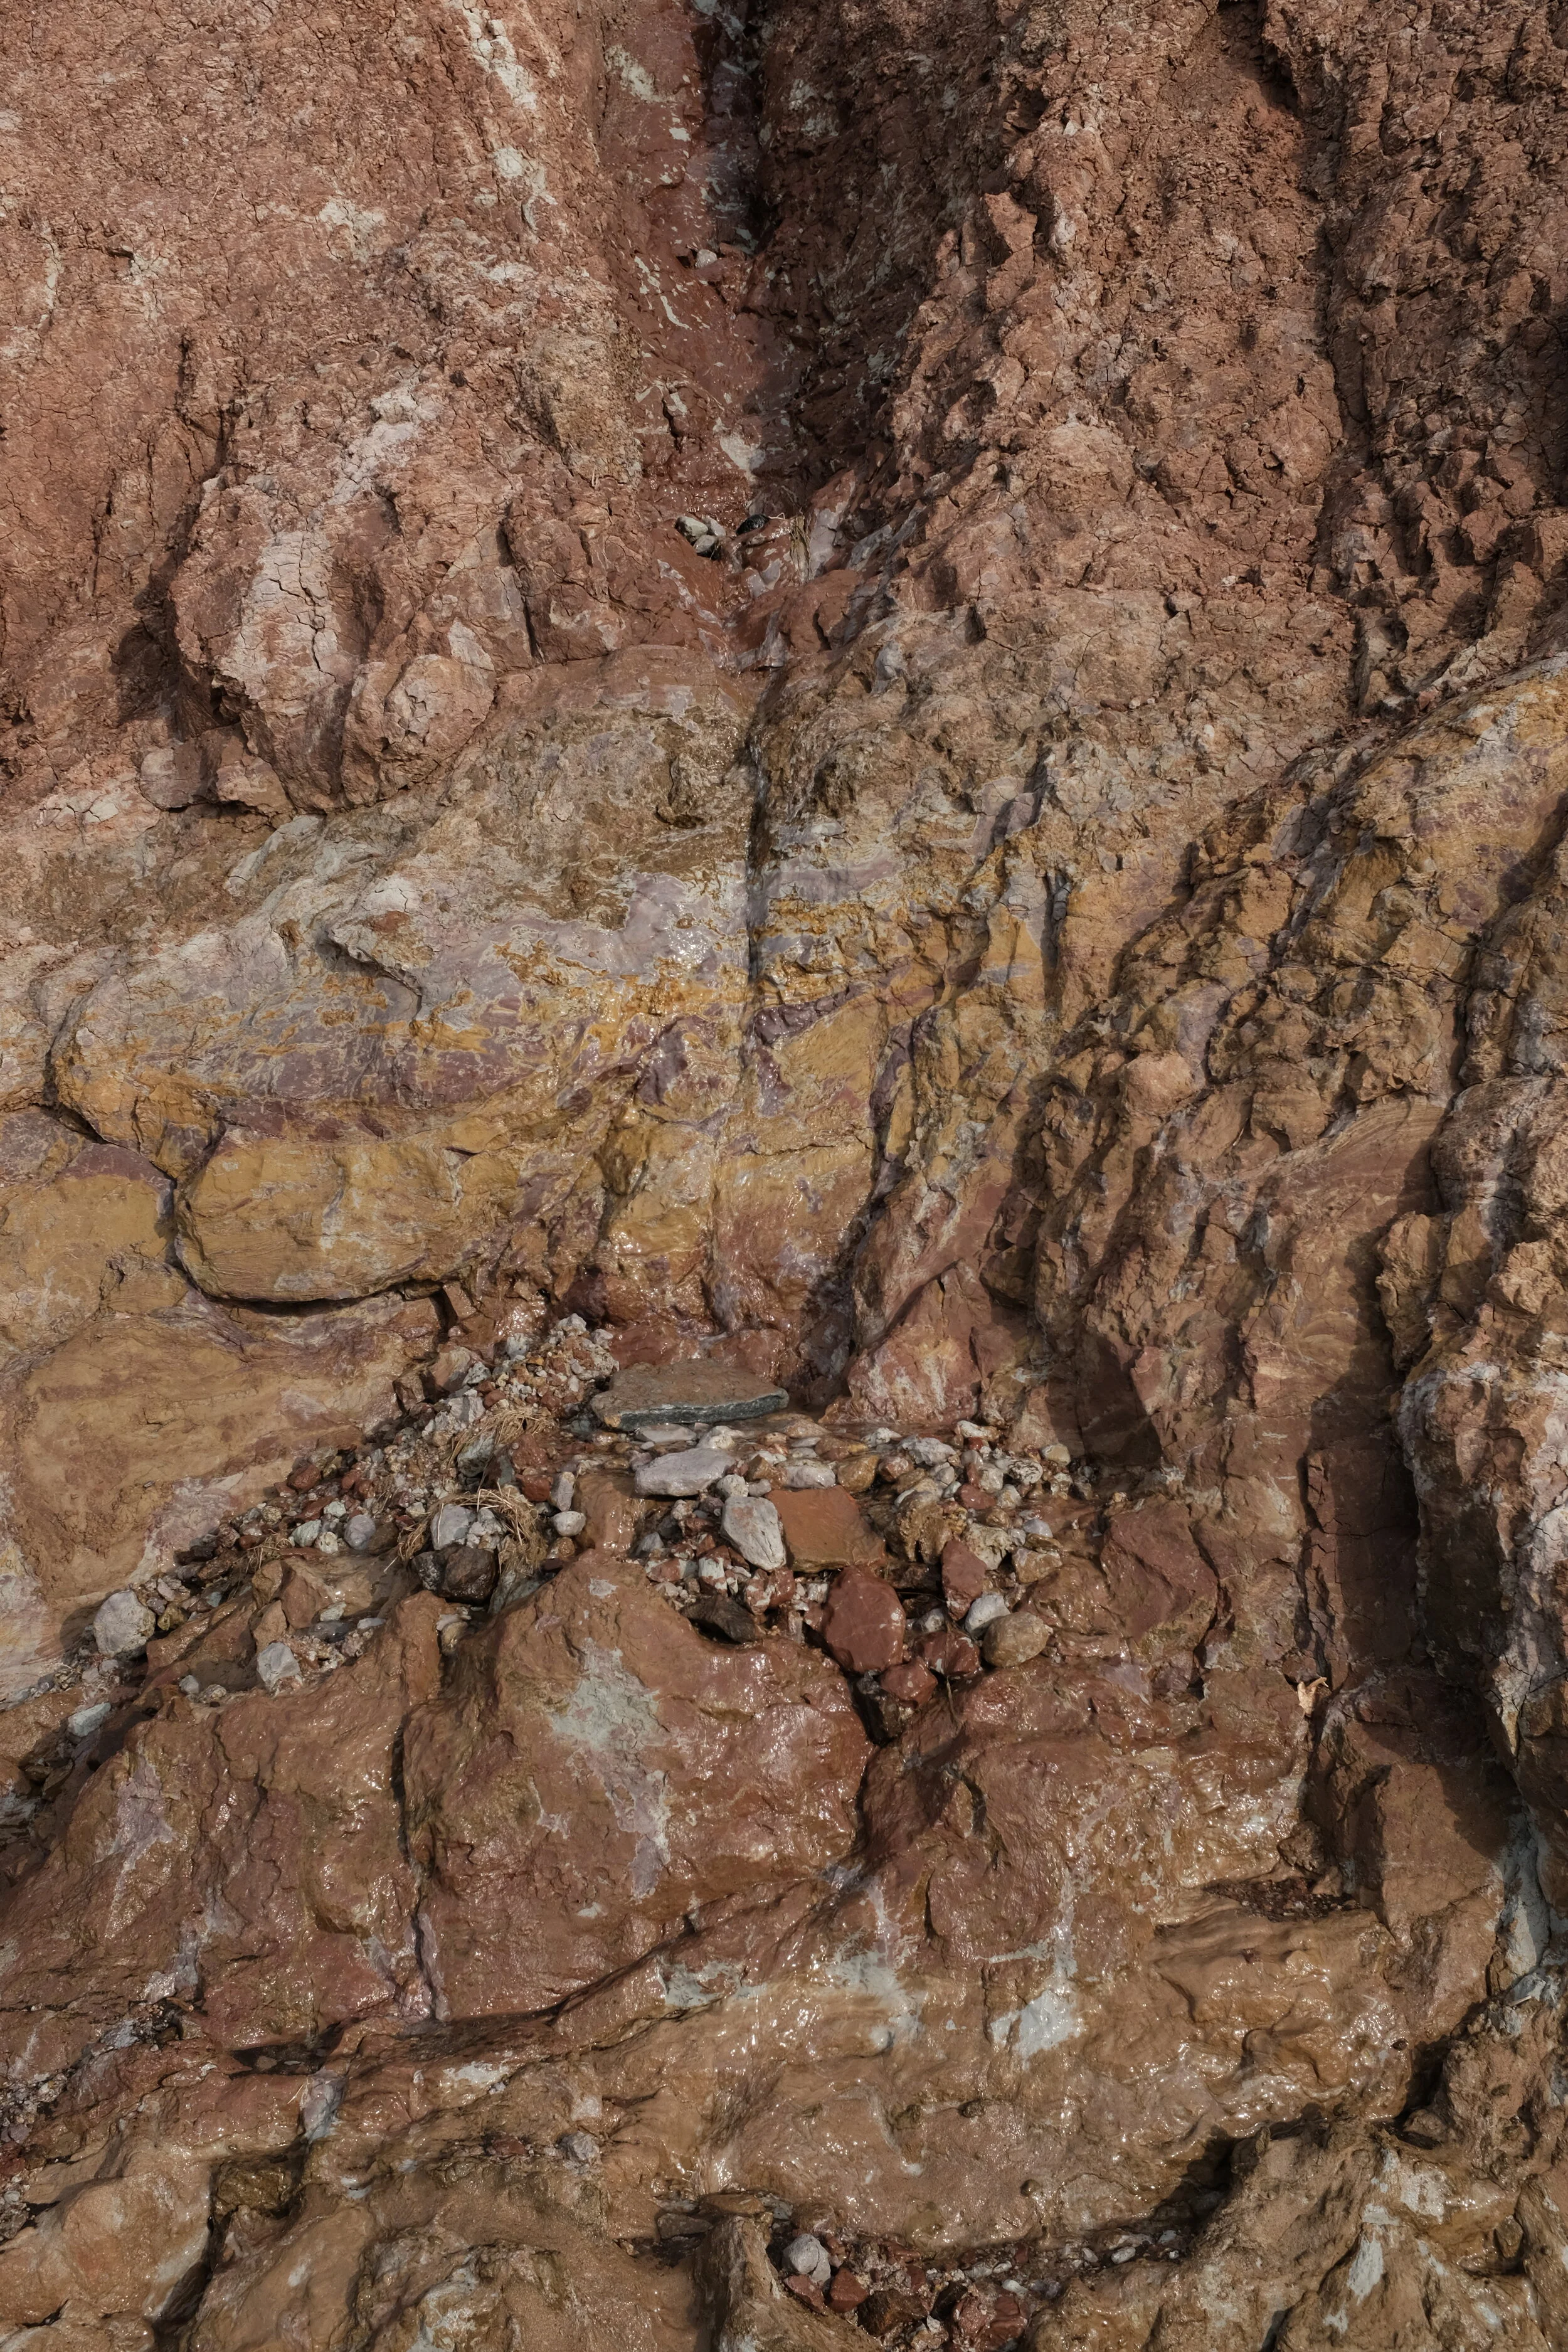
The majority of the clay you find will probably be iron-rich red earthenware or terracotta, as it’s the most common type of clay in superficial soils. But it’s not that uncommon to step onto white earthenware or stoneware or to find terracotta that can be also be fired at higher temperatures. The only way to know for sure what clay you have found is to fire a few tests at increasing temperatures to find the final colour, maturity, melting point and permeability of your ceramics.


What to look for
Look for mud pools, slippery areas or cracked soil if you are somewhere dry.
When you've found something that is or might be clay, you can do some simple tests to determine its workability.
If it’s dry, wet a handful of it and see how well the particles stick to themselves. Clays that stick to your hands more than themselves can still be used, but will be more difficult to handle. Clays with a “waxy” feeling usually perform really well, especially at the wheel.
Roll a small coil and twist it around your finger, the more it breaks the less plastic your clay body is.
If it’s crumbly or you can’t get it to bend without breaking, chances are it’s not clay, but something with bigger particles like silt or alluvium. If you don’t want to give up on it just yet, you can try to mix it with some more plastic clay bodies or use it as a glaze. I’ve collected some clay like materials with very little plasticity that gave interesting textures and colours when added to porcelain or stoneware.


If you are lucky, you might find your wild clay in a pliable and perfectly wet state. These can be used straight off the ground if you don’t mind some impurities and if you can get the bigger pebbles and roots out.
In some other instances you might find clays that are too wet, dry or full of impurities and need processing.
Processing
You can chose to process your clay while wet or dry, or a combination of the two. Processing dry clay is less laborious and requires less time, but you need to be careful to not inhale clay dust. Do it outside and wear a mask.
I usually process everything at a wet state and find that this works well for the small samples I collect.
Dry process
Let your clay dry out thoroughly. Then put it on top of a tray or plastic bag, break the lumps of clay as much as you can. Use a hammer if you need and remove roots, bark and pebbles. It’s especially important to remove flints and limestones as they will explode in the kiln.
Then pass the resulting powder through a few sieves. Start from a standard kitchen sieve, then move to finer ones if you’d like. The finer the sieve, the finer and more homogeneous the clay particles will be in your clay body. I usually don’t go above a 50 mesh as I like my wild clays to fully retain their character and texture.
If you use a very fine sieve, you might make your clay more difficult to throw and prone to fracture when drying or firing.


Wet process
To wet process your clay cover it completely with water in a bucket. Let it sit for a few weeks while occasionally “massaging” it, breaking the bigger lumps and removing bigger impurities by hand. When you have a softer material, you can pass it through a sieve. As in the dry process, start with a metal one and move on to finer sieves if you’d like. Then let dry the resulting slip and gradually remove the top layer of clean water that keeps forming.
You can put a firmer slip on plaster to speed up this process or just a wooden board and a few hours in the sun work well too. When it’s pliable wedge and store it in a closed container.


Harder clays especially need more effort and time: this green one below dug in Hampshire had a rock-like consistency and was impossible to soften by hand. In these cases try using a mixing drill or even an old blender (don’t reuse it in the kitchen afterwards).


After all of this processing your wild clay body theoretically and ideally needs resting for weeks, or even better several months. I have skipped this step most times as my fourth floor small home studio doesn’t allow for much storage and the clay bodies were still good enough to throw at the wheel and survive all steps of drying and firing.
The best way to understand how to use wild foraged clays is by trial and error. It’s difficult to give advice that fits all, because every clay body behaves differently and requires different care.
Try a few methods to process your clay and see what works best. You might want to reduce the processing to the minimum to retain irregular texture, especially good if you are hand building and want some natural grog. Or you might want to produce a fine homogeneous body to focus on colour and workability at the wheel.